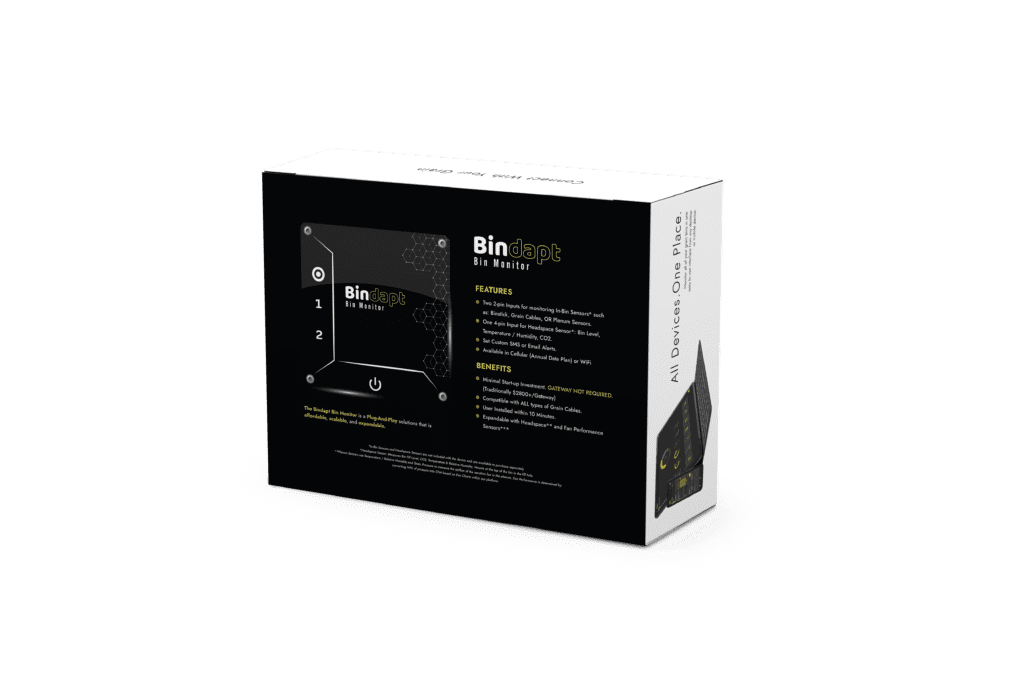
When grain comes off the field above its target storage moisture, drying capacity can quickly become a priority. While using a dedicated grain dryer is one option, smart in-bin grain drying can make better use of suitable storage bins already on the farm.
With the right equipment, an existing grain bin can be adapted for in-bin drying and play a bigger role in post-harvest drying. This guide explains what smart in-bin grain drying is, what’s involved in converting an existing bin for drying, and when this approach makes sense.
What is smart in-bin grain drying?
Smart in-bin grain drying is a method of drying grain directly inside the bin where it is stored. Rather than moving grain through a separate commercial dryer, the system uses the bin’s aeration system together with supplemental heat to push warm, dry air through the grain and remove excess moisture.
The “smart” element comes from sensors that monitor grain and air conditions, combined with automation that controls drying equipment based on those conditions.
Three elements work together:
- Grain condition monitoring: Temperature and moisture cables show how conditions within the grain mass change as drying progresses.
- Air condition monitoring: Ambient sensors measure outside temperature and relative humidity, while plenum sensors monitor the temperature, humidity, and static pressure of the air entering the grain.
- Automated equipment control: Compatible fans, heaters, and exhaust equipment operate automatically based on current grain and air conditions, reducing the need for manual adjustments.
Together, these tools provide greater visibility into drying progress while reducing the need for manual monitoring and adjustments.
Steps to convert an existing grain bin for drying
Converting an existing bin with Adaptive Agriculture’s in-bin drying system involves connecting a construction heater to the aeration system and adding sensors and automated controls to manage the drying process.
Step 1: Verify the existing aeration system is suitable
Confirm that the fan and floor aeration system can distribute enough air through the grain. The system requires a minimum airflow of 1 CFM per bushel. Check fan performance at the intended grain depth and volume, and ensure there is adequate roof ventilation for moist air to escape.
Step 2: Add and connect a construction heater
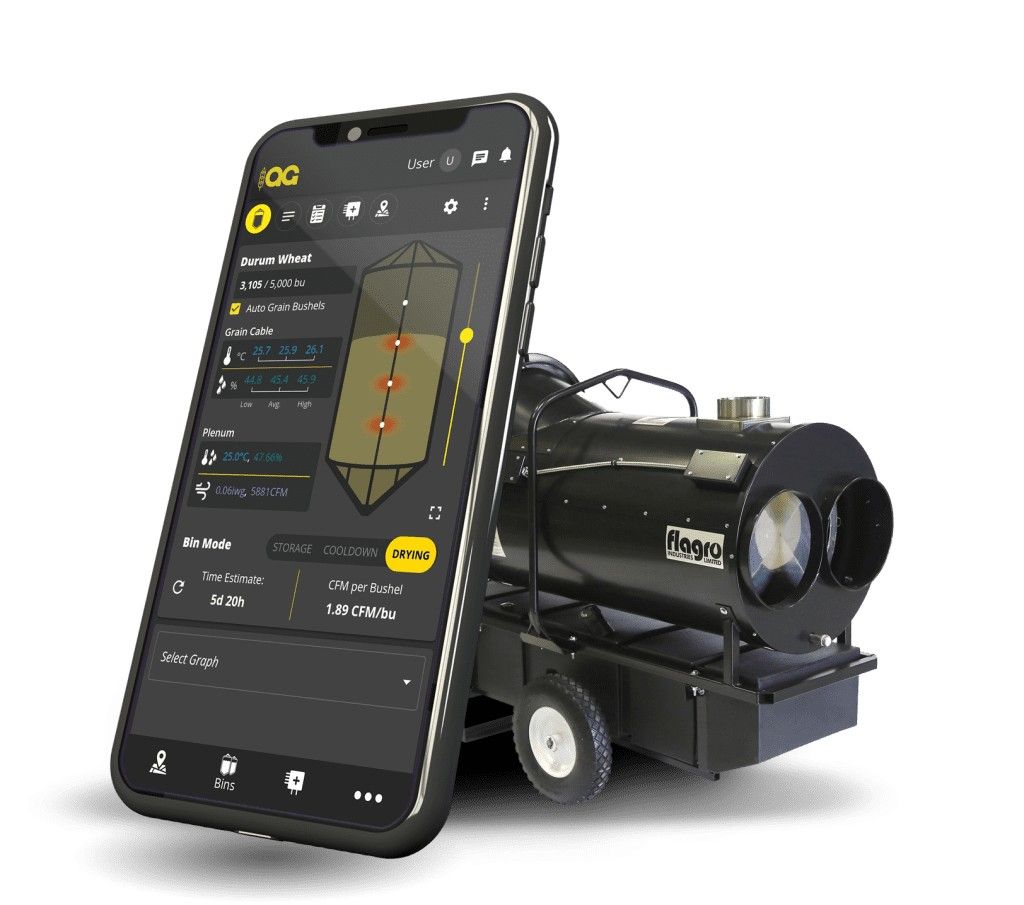
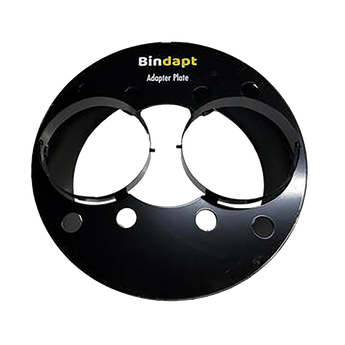
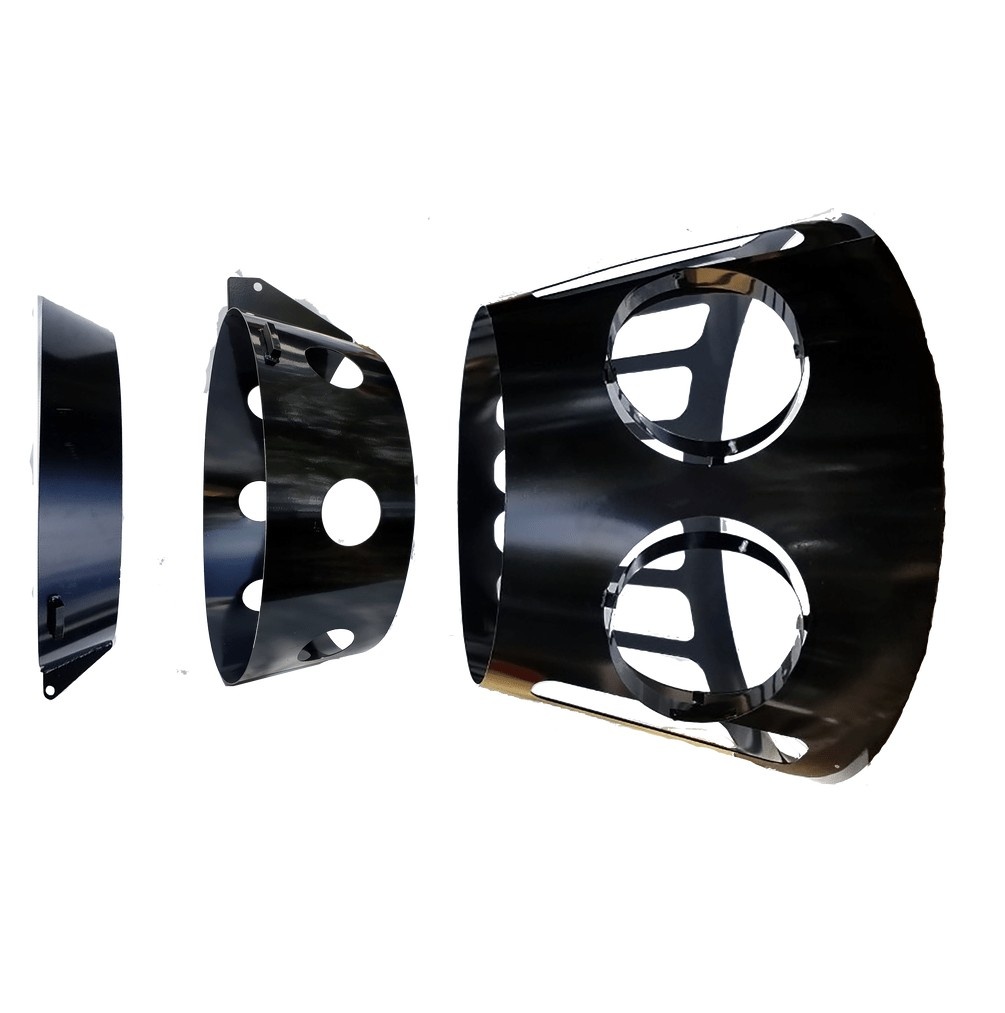
Select a compatible indirect-fired construction heater, such as the Flagro FVO-400. Connect it to the existing aeration fan intake using heater ducting and the appropriate adapter plate. The adapter plate allows outside air to mix with heated air before the fan moves it into the bin’s plenum.
Step 3: Install the automation device and control modules
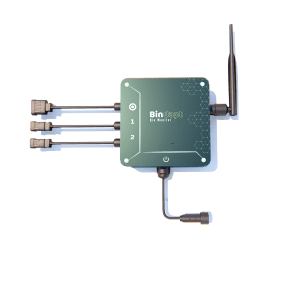
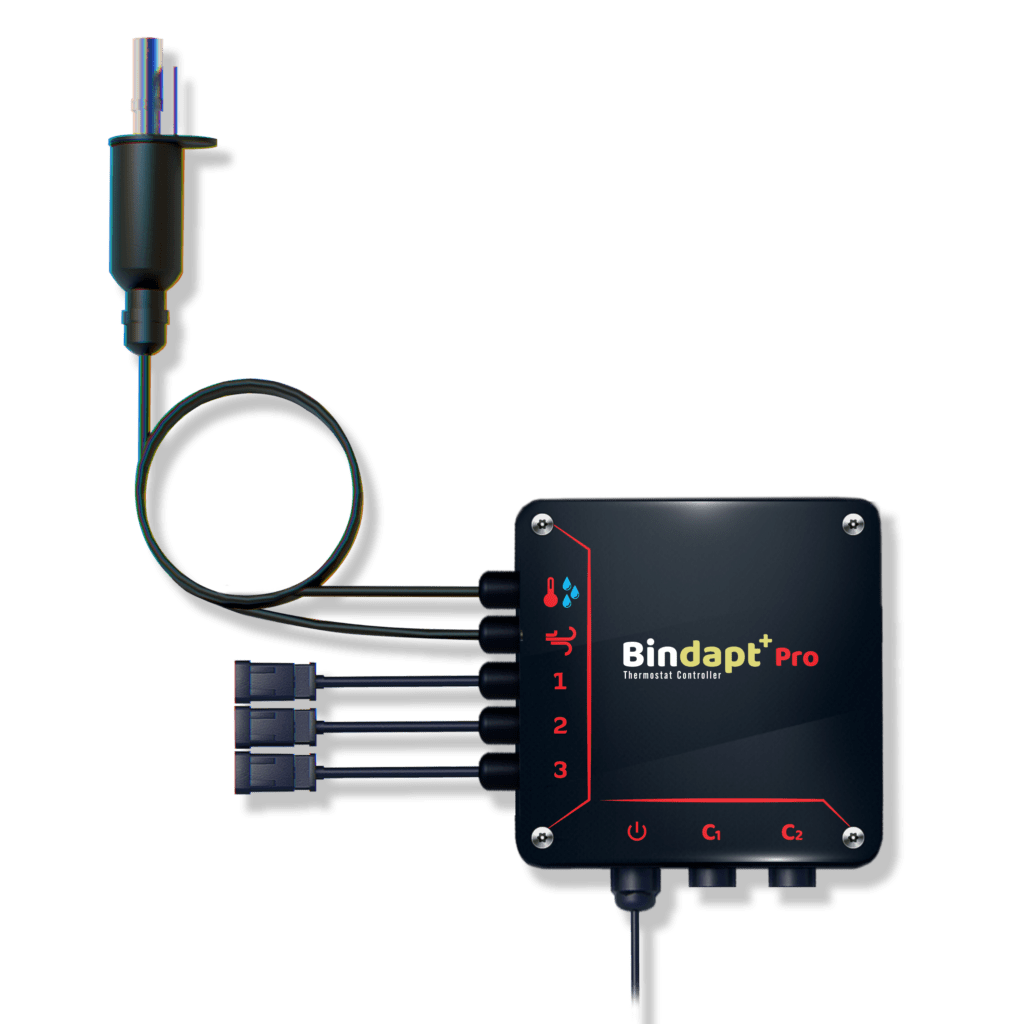
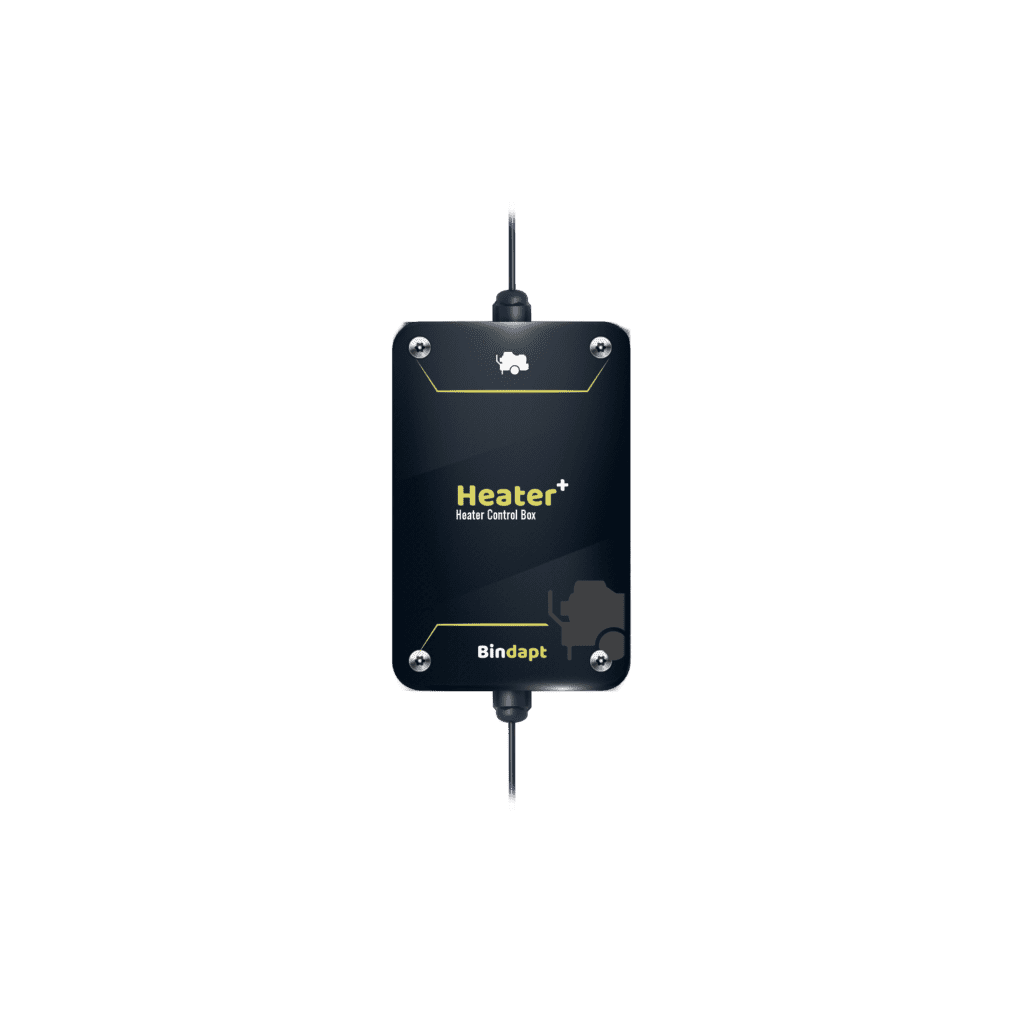
Install the Bindapt+ 2.0 Automate device on the outside of the bin with Aeration Plus and Heater Plus modules to control the aeration fan and construction heater. If the bin has exhaust fans, an Exhaust Plus module can control them to help reduce headspace humidity.
Follow the product instructions to connect the control modules to the Bindapt+ device and the equipment they control.
Step 4: Connect monitoring cables and sensors to Bindapt+
Connect the bin’s grain monitoring cables to the Bindapt+ 2.0 Automate device to track temperature and moisture in the grain. Bindapt+ devices are compatible with OPI and Bin-Sense cables.
Connect an ambient sensor to measure outside temperature and relative humidity. Aeration Plus requires this sensor for operation.
Install a plenum sensor between the fan and bin and connect it to Bindapt+. The sensor measures the temperature, relative humidity, and static pressure of the air entering the bin. It is required for Heater Plus.
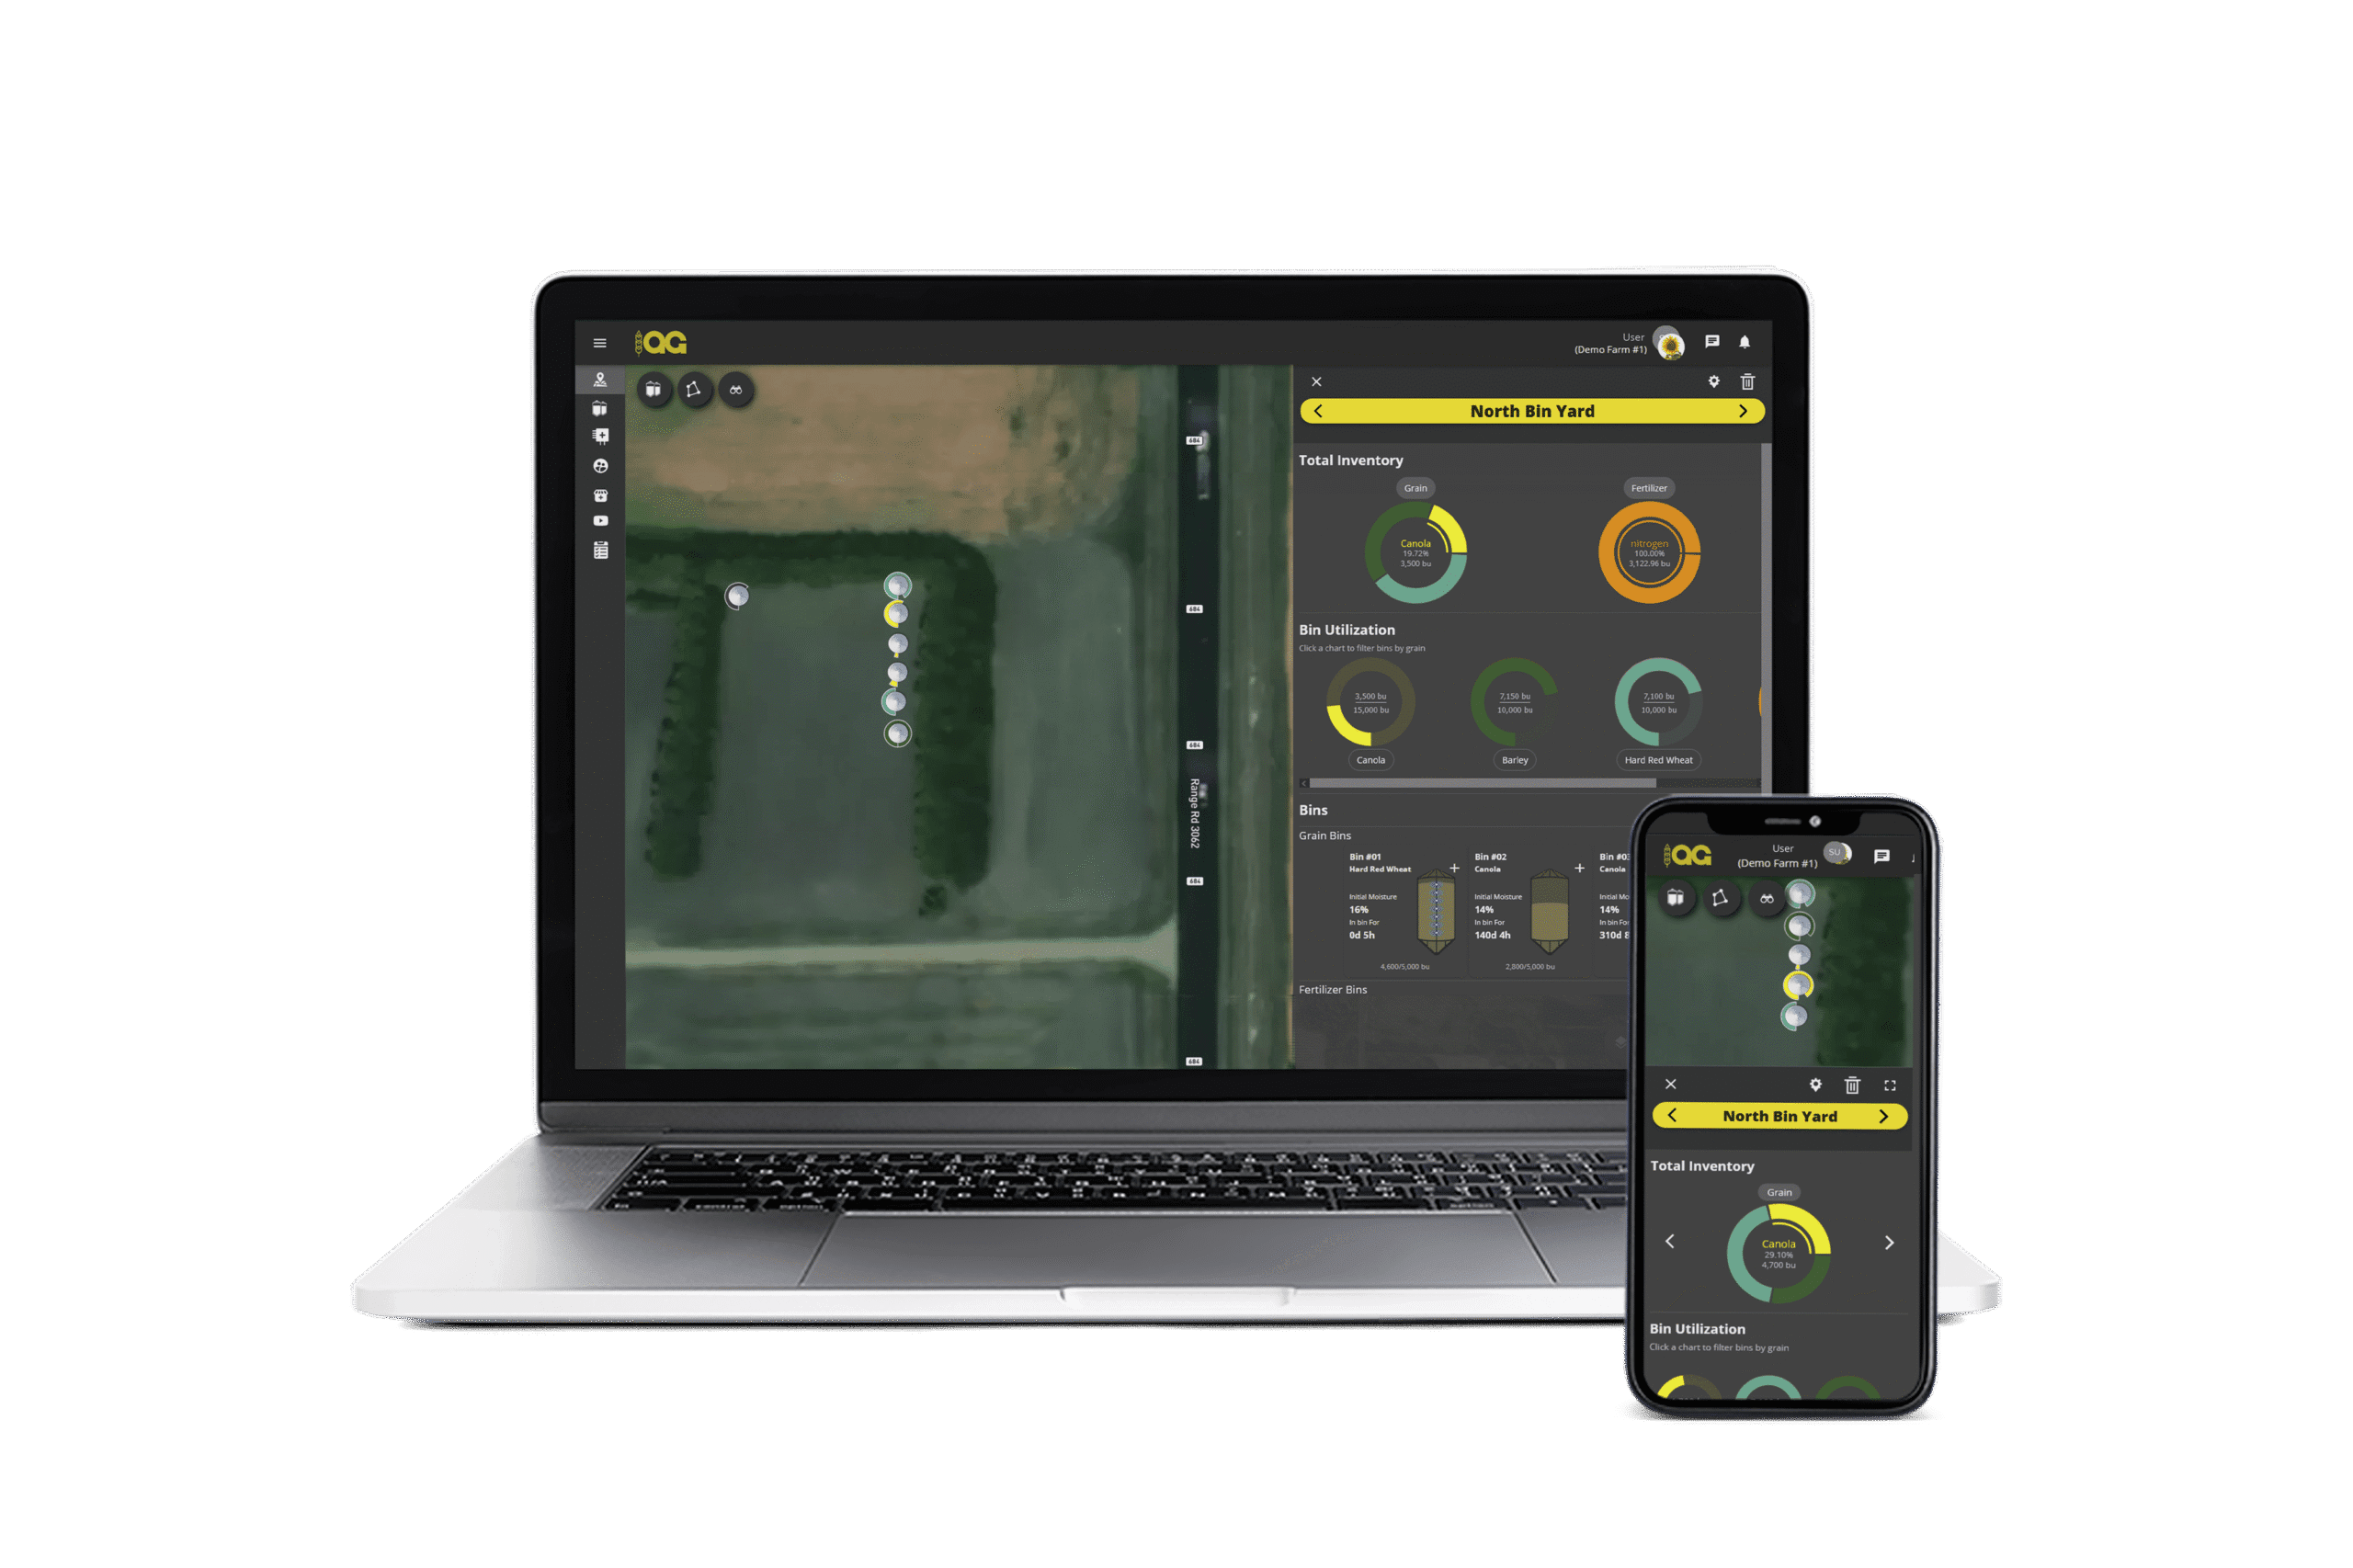
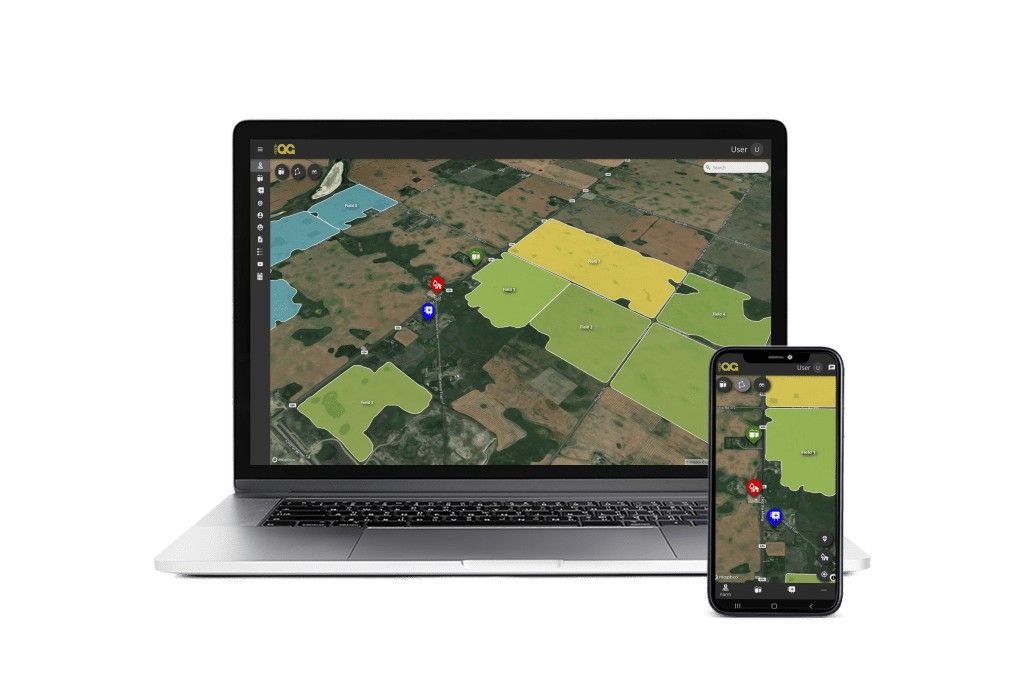
Once everything is connected, use Visual Farm to view sensor readings, monitor equipment, and track drying progress.
Step 5: Run and monitor the drying cycle
Once the system is set up, begin the drying process and use Visual Farm to monitor conditions in real time. Keep the aeration fan running continuously throughout the heated drying cycle to move the moisture front upward through the entire grain mass.
After drying is complete, switch to Cool-Down mode and run the aeration fan for 24–48 hours. When all grain cable readings indicate a safe storage temperature, turn off the aeration system and allow the bin to rest for 24 hours.
After the rest period, take grain samples and check the moisture level. If additional drying is needed, repeat the process.
Natural-air drying vs. supplemental-heat drying
Both natural-air and supplemental-heat drying can work in suitable in-bin grain drying systems. Which approach makes sense depends on factors such as starting grain moisture, available airflow, weather conditions, and the amount of drying time available.
Factor | Natural-Air Drying | Supplemental-Heat Drying |
How it works | Uses fans to move outside air through the grain without adding supplemental heat. | Heats incoming air to increase its drying potential. |
Best suited for | Conditions in which starting moisture, airflow, grain depth, and weather allow adequate drying. | Conditions in which outside air alone does not provide enough drying progress. |
Drying speed | The process is gradual and can take several weeks depending on the crop and conditions. | Can be faster, depending on the heat input, airflow, crop, and conditions. |
What to watch | Monitor grain conditions as the drying front moves through the bin. | Match heat input to the crop, moisture level, airflow, and drying goal to avoid unnecessary energy use or overdrying. |
When does converting an existing bin make sense?
Converting a storage bin into an in-bin grain dryer can be a practical way to add drying capacity using equipment already on the farm.
It can be especially useful when harvested grain exceeds its target storage moisture, an existing dryer becomes a bottleneck, or weather conditions limit natural-air drying. This added capacity gives farms more flexibility to keep grain moving during harvest.
For farms with suitable bins, fans, and monitoring cables, adding supplemental heat and automated controls may require less investment than installing a separate drying system.
Plan your in-bin drying setup with Adaptive Agriculture
A successful conversion starts with understanding the equipment you already have. Bins, fans, monitoring cables, heaters, and controls need to work together to meet your drying goals.
Adaptive Agriculture can review your current setup and help identify suitable monitoring, sensing, and automation options. Contact us to discuss your bin yard and plan an in-bin drying system that fits your operation.
Frequently asked questions